Experiences about Finnish Personal Health Record data repository (part 2)

This blog post handles how to create a new application client to the PHR Sandbox environment via self-service portal.
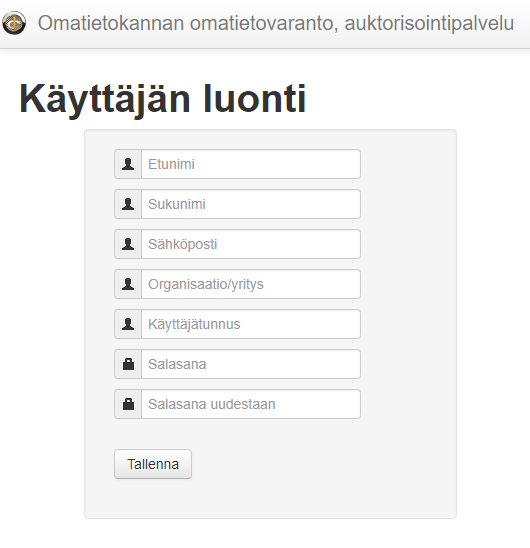
Create an admin user
First, you have to create an admin user for the self-service portal. Admin users can be created via this site. Admin users can create new application clients in the PHR Sandbox environment.
Create a new client
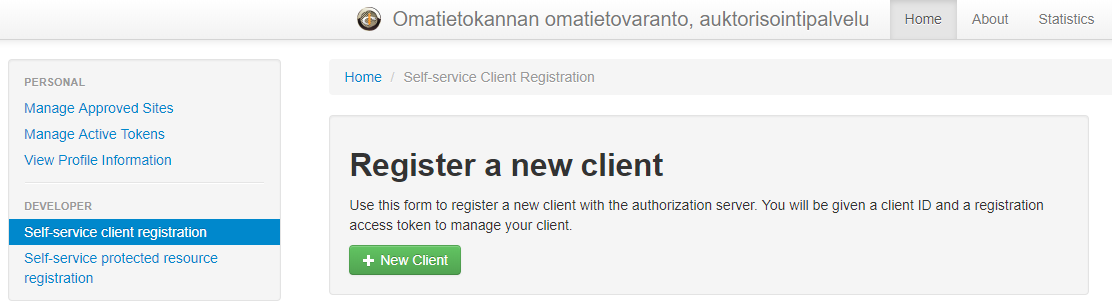
Log in to the self-service portal using the admin user credential which was created in the previous phase. On the main page click "Self-service client registration" from the left navigation.
Next, you should give basic information about your client app. Fill in at least the Client name and redirect URI(s). Redirect URI will be a destination where the client is redirected after authorization. I'm testing my application only on my machine so my redirect URL is pointing to the localhost.

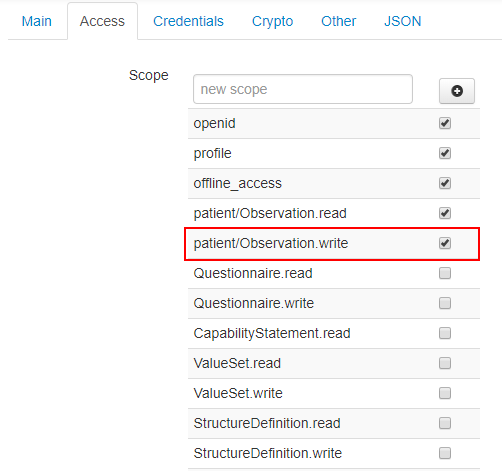
In the Access tab, you can configure allowed scopes. OAuth 2.0 scopes limit access to the resources that are granted to an access token. In this example I'm concentrating on handling only Observation types so I choose Observation read and write scopes. Observations can be like steps, activity, weight, blood pressure, etc.
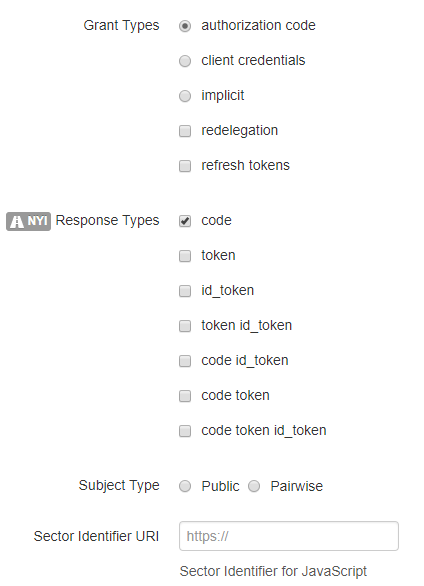
Grant types describe methods for a client application to acquire an access token. The access token represents a user's permission for the client to access data. More information about Grant types can be found here and here.
This application will use an authorization code as a grant type. Basically after authentication and when the user has approved that that specific client application can use the user's PHR data, the authorization code is sent to the client application. The client application will be found from the URL which was declared in the client settings (Redirect URI) in the self-service portal. Client application receives the authorization code and uses it the fetch user's access token from the Token endpoint of the Sandbox environment.
In the credentials tab, you can determine token endpoint authentication methods. I left these default settings active in this sample application.

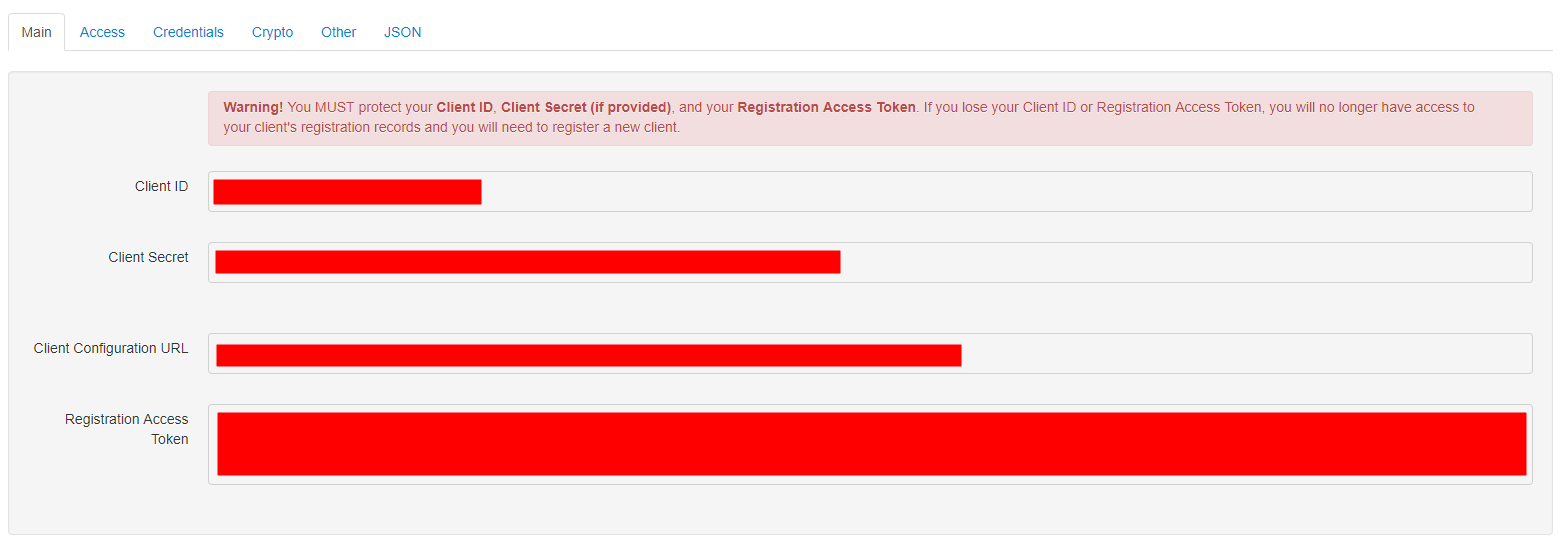
Now the most important settings are declared and you can hit the create button. After creation, you will get the Client ID, Client secret, and Registration access token of your client. Remember to save this information because currently Sandbox self-service portal has a bug that prevents you from accessing this information later!
Editing existing client
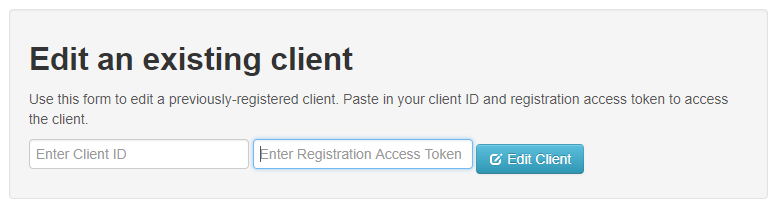
The self-service portal has the functionality to edit existing client information (click Self-service client registration from the navigation). You should give ClientId and Registration Access Token to edit the client.
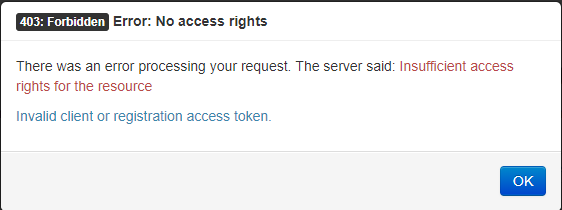
As said earlier currently there is a bug that prevents you the editing the client. If you want to edit your client please contact Kela. Sandbox administrator users in Kela can change settings manually from the request. Kela is investigating this issue.
Update 27.10.2018 - Client editing is now working via a self-service portal.
The next blog post will handle technical implementation and how to implement the PHR Sandbox client application.
Comments