Identity management - How to configure Azure AD B2C and B2B work together?

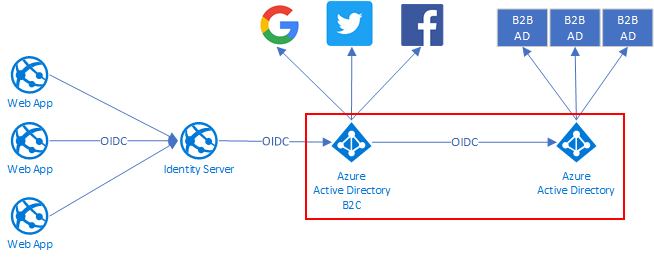
This blog post shows how to configure an environment where users can log in to Azure Web applications using B2B (business) accounts or B2C (consumer) accounts. Azure B2C is a separate product from Azure AD which enables federated authentication to social platforms (ext. Facebook, LinkedIn, Twitter, Google) using the Open ID Connection protocol. It's also important to know that O365 services are only available for B2B users.
If you're more interested in the differences between Azure AD B2B and B2C I suggest that you read a Microsoft document about it.
The big picture about the environment
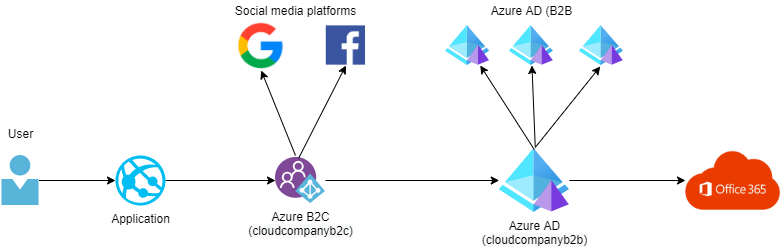
The environment has one Web application that is using Azure AD B2C as an IDP. This configuration makes it possible to log in to that web application by using a B2C or B2B account. The web application is not directly aware of Azure AD B2B because it's hidden behind the B2C.
Create Azure AD B2B Directory
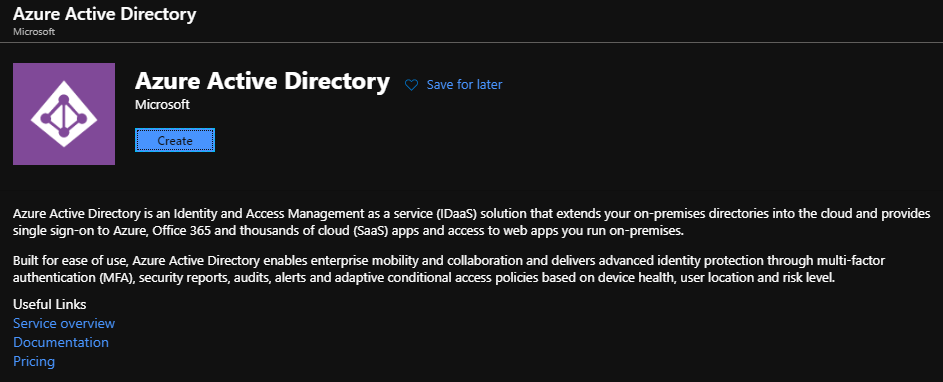
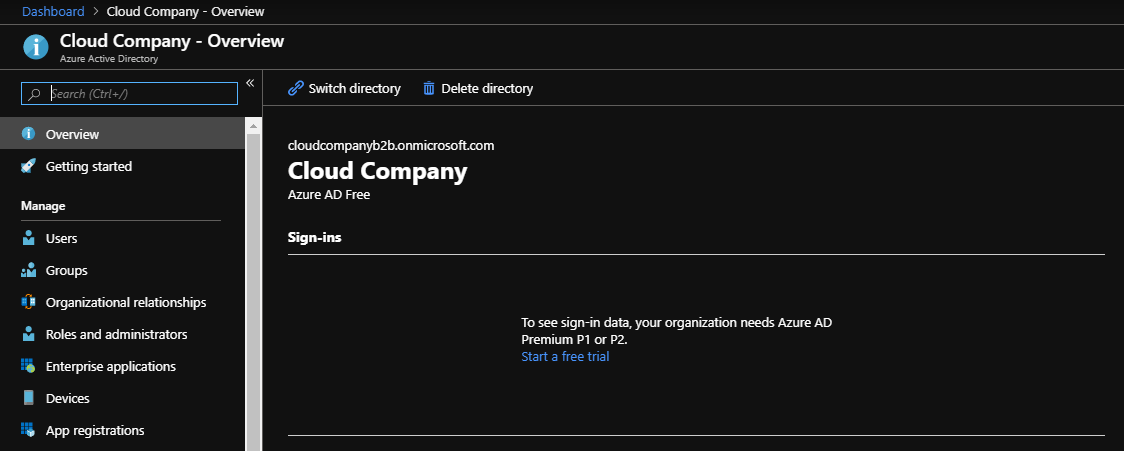
First, create a normal Azure Active Directory which is the main directory for the B2B users. You can find Azure Active Directory from the Azure Portal marketplace.
After clicking Create you can determine the name for the directory.

In this environment, all external B2B users are invited to this directory. Before that let's create also an Azure AD B2C service.
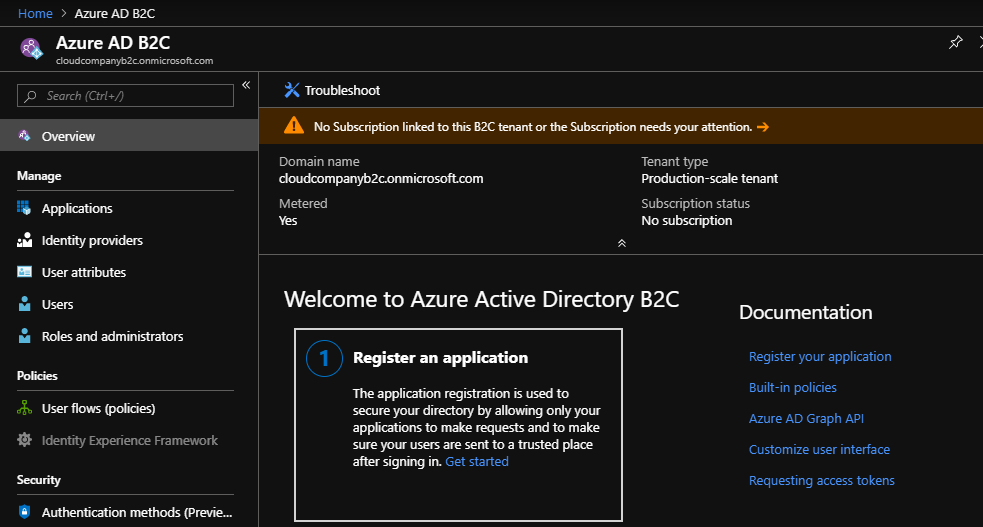
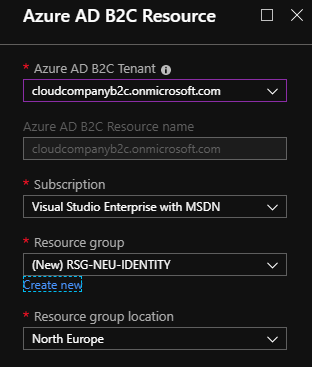
Create Azure AD B2C directory
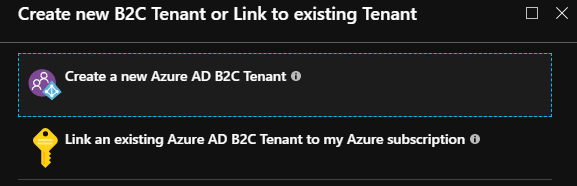
After clicking create select "Create a new Azure AD B2C Tenant"
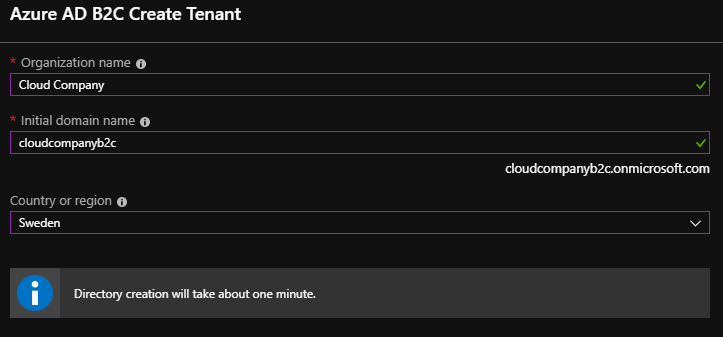
Next, determine the name for the directory.
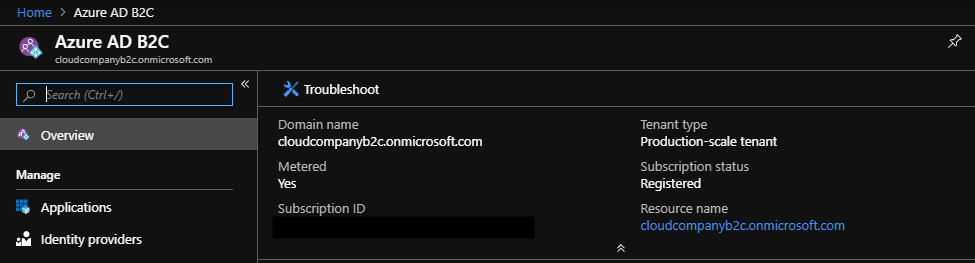
After creation go to the front page of the Azure AD B2C. First, you have to link the B2C tenant to the active Azure subscription.
Link Azure AD B2C to active Azure subscription
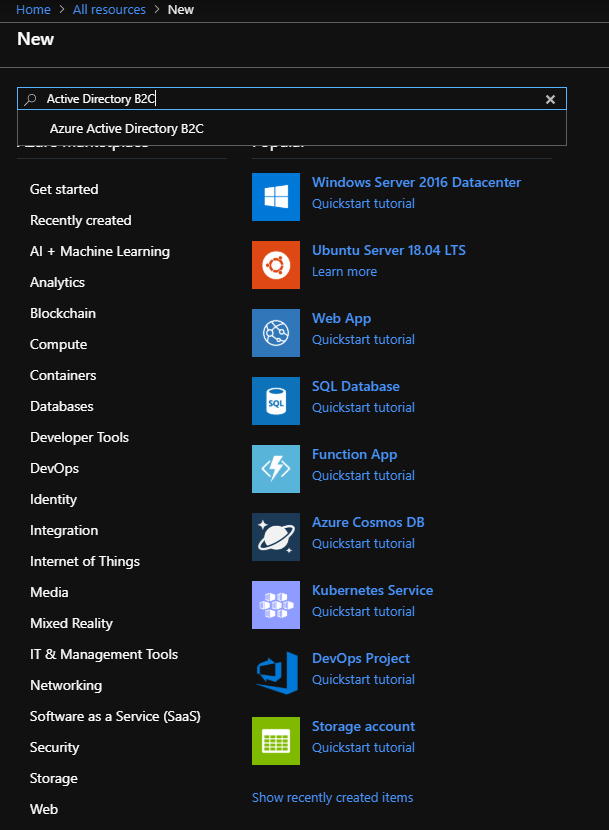
Open the Directory switcher and select the directory that has an Azure subscription and go to marketplace and search "Azure Active Directory B2C".
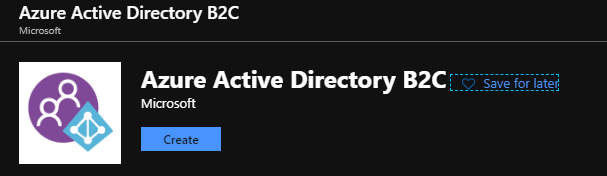
Click Create and select "Link an existing Azure AD B2C Tenant to my Azure subscription"
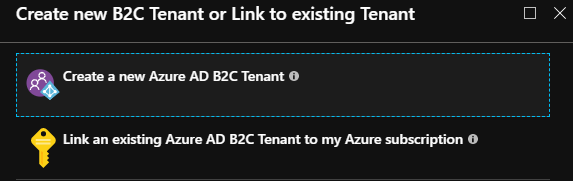
Select just created Azure AD B2C tenant.
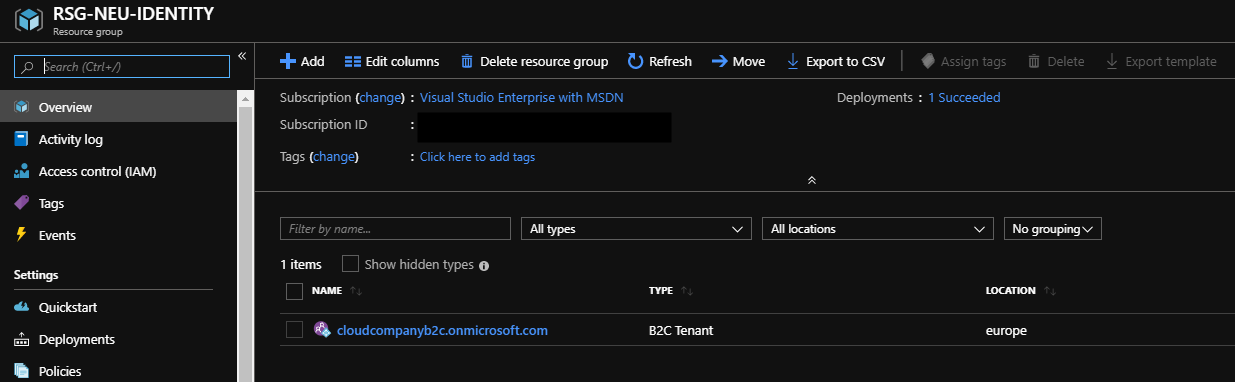
Now you can find the Azure B2C tenant from the Resource Group.
Next, configure B2C identity providers and applications.
Configure identity providers for Azure AD B2C
Select the B2C directory and go back to the B2C frontpage
Select Identity Providers
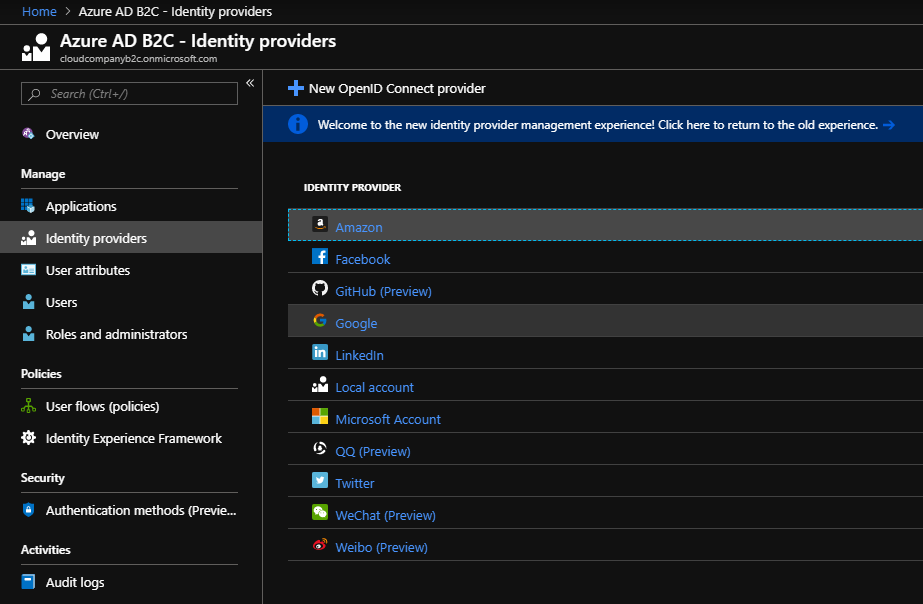
Select Google
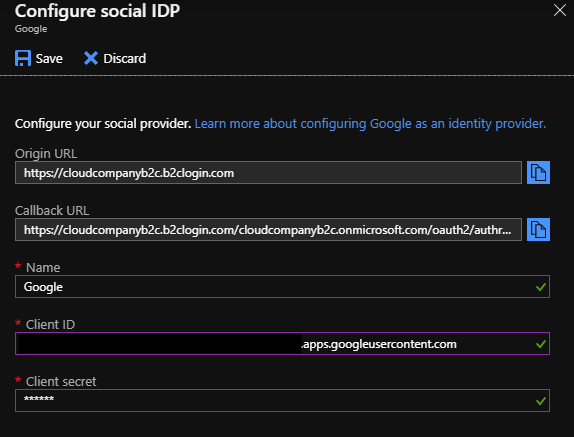
Follow this guide to configure the Client in the Google Console portal.
Configure connection between Azure AD B2C and Azure AD B2B
This Azure AD B2B application is configured later as an Open Id Connection provider to the Azure AD B2C.
Select B2B Azure AD directory (cloudcompanyb2b)
Open App registrations
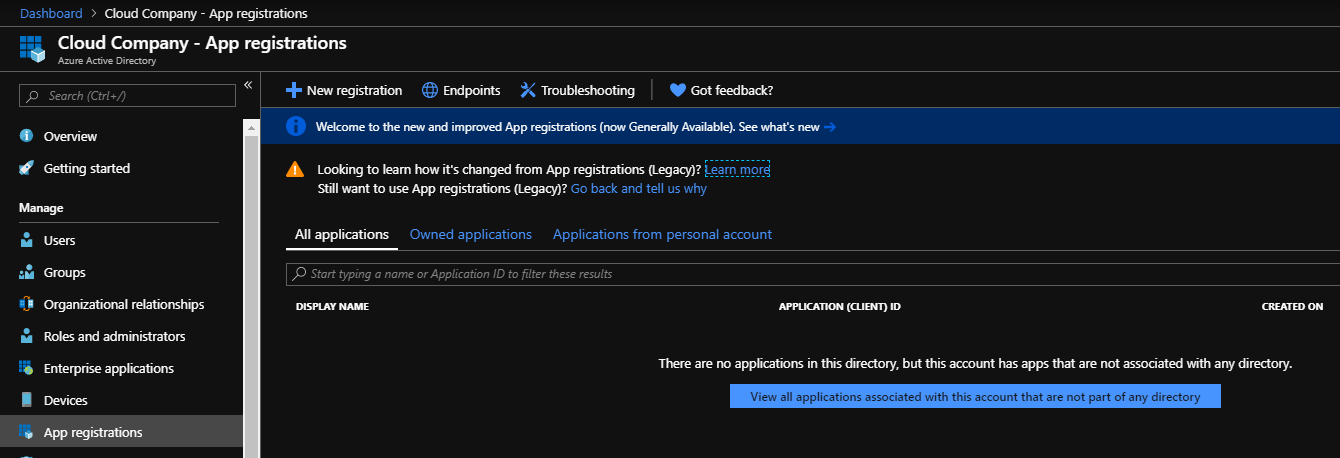
Select a new registration. Give the name for the application and select account type.
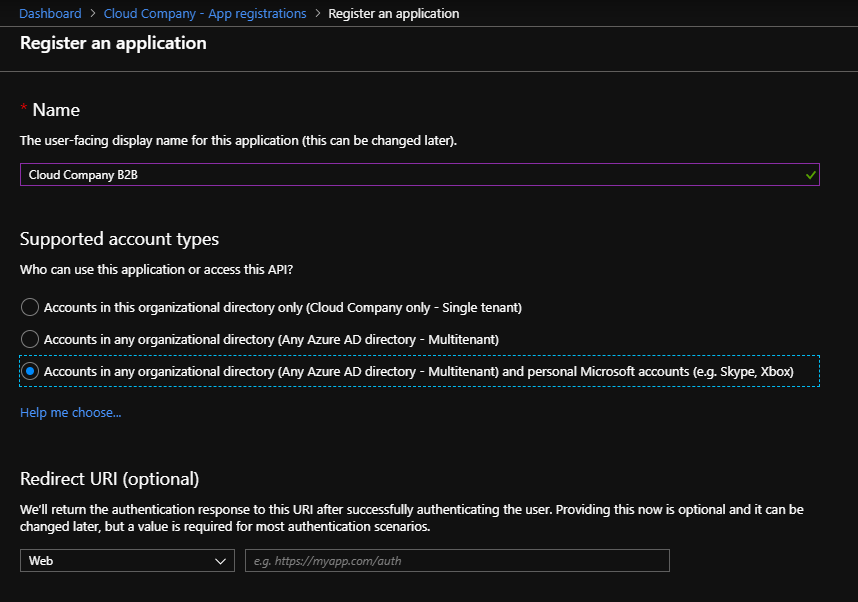
Next copy the ApplicationId (=ClientId) to the notepad because we need it later.

Select authentication. Next, we should configure the redirect URI where Azure B2B redirects the user back. This address should be pointed to the B2C authresp endpoint. The URI should be https://login.microsoftonline.com/te/[B2CTENANT].onmicrosoft.com/oauth2/authresp. Select also Access and ID tokens and then click Save.

Select certificates & secrets
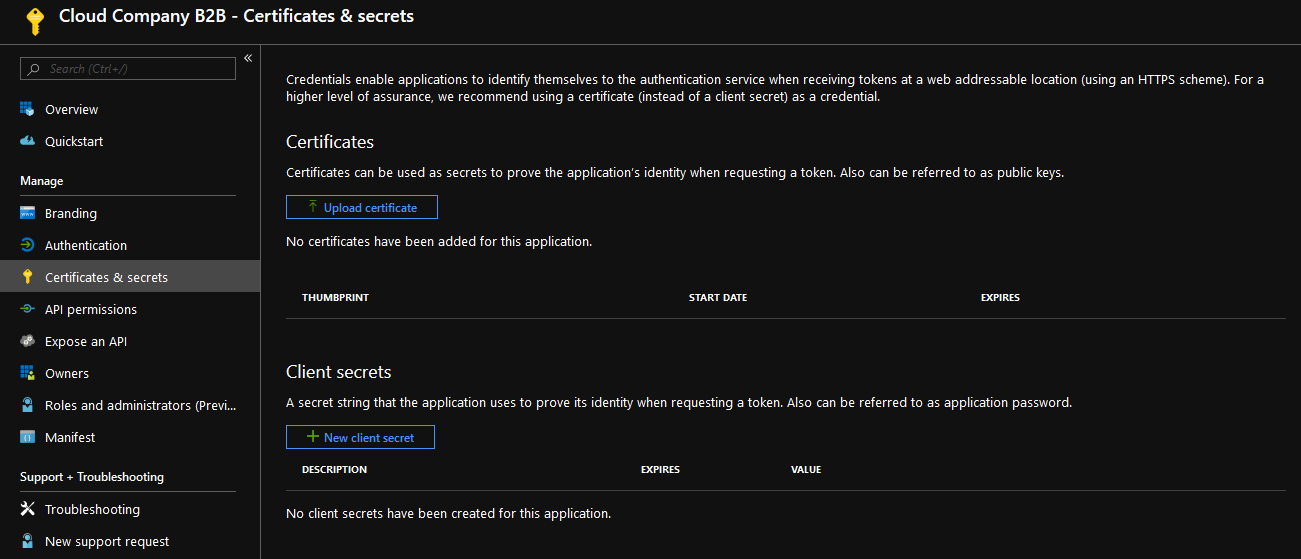
Select a new client's secret
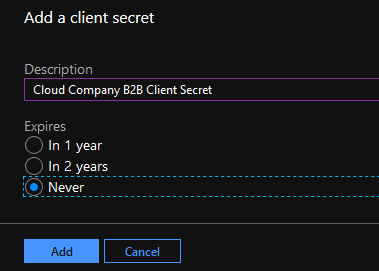
After creation, the client's secret is revealed. Copy it to ex. Notepad.
Configure Azure AD B2B OIDC connection in Azure AD B2C
Go back to B2C directory (cloudcompanyb2c) and open identity providers.
Click the new OpenId Connect provider.
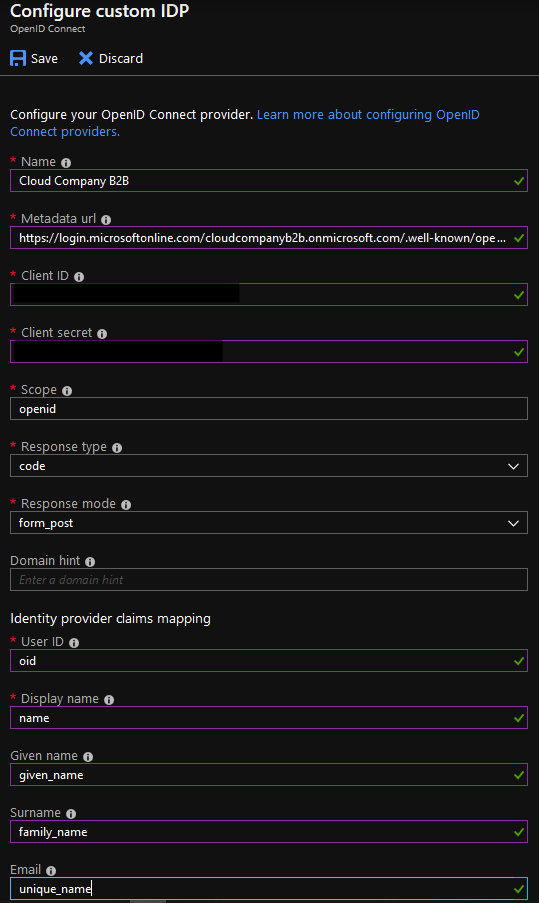
Metadata url = B2B OIDC metadata endpoint url https://login.microsoftonline.com/[B2BTENANT].onmicrosoft.com/.well-known/openid-configuration
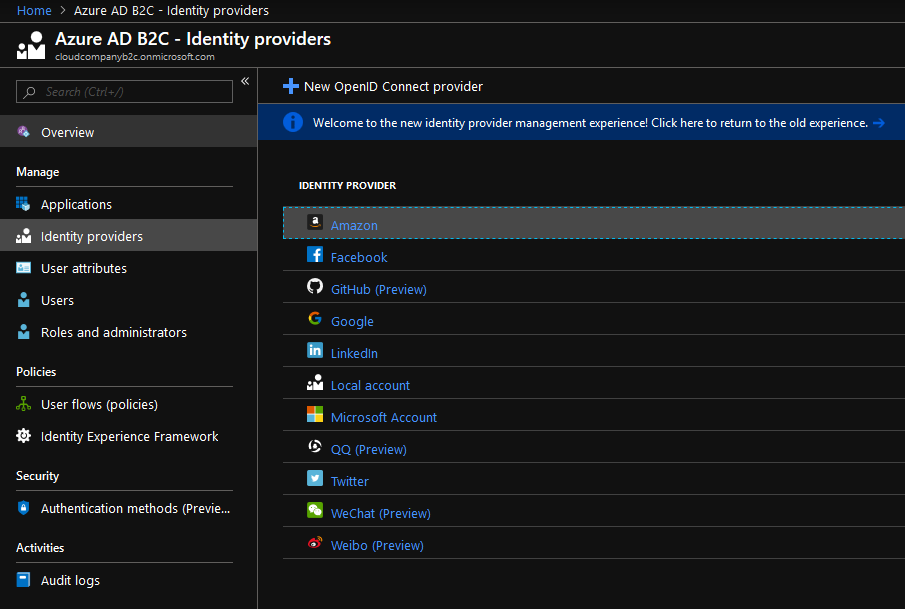
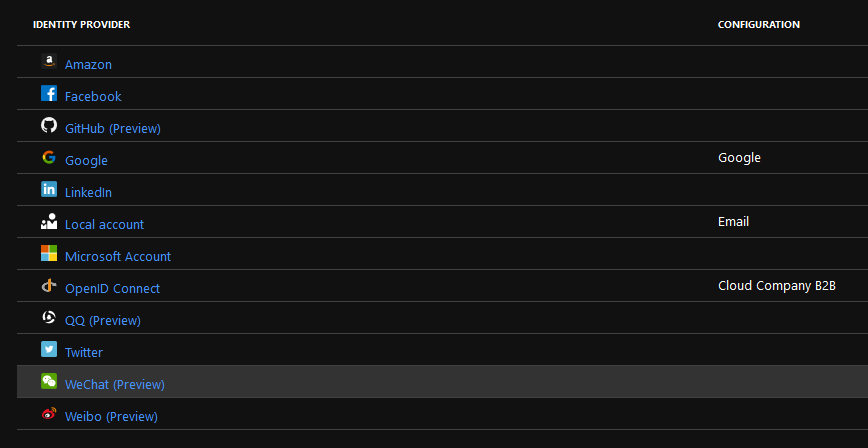
After configuration, the Identity Provider listing should look like this.
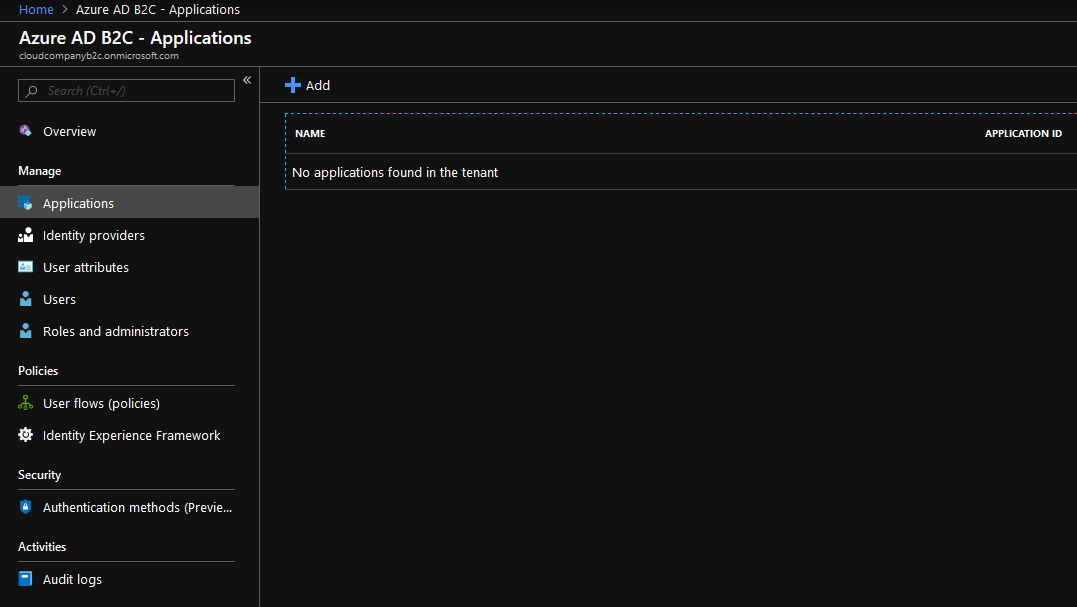
Configure Sample Web application
Next, we configure the Sample Web application which uses Azure AD B2C as an IDP. Go to Azure AD B2C configuration view and select Applications.
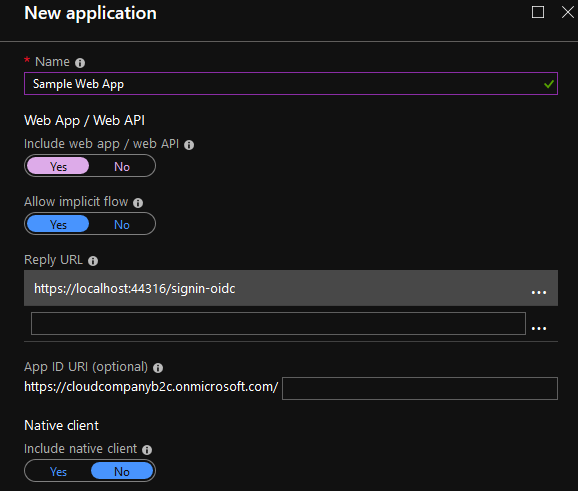
Click Add and give the name of the application. The reply URL should point to the OIDC endpoint of the application. First I'm testing an app in the localhost.
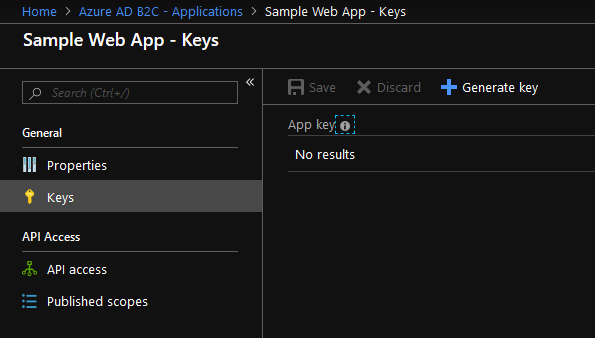
Click the Keys section and then click the Generate key. After creation, the client's secret is revealed. Copy it to ex. Notepad.
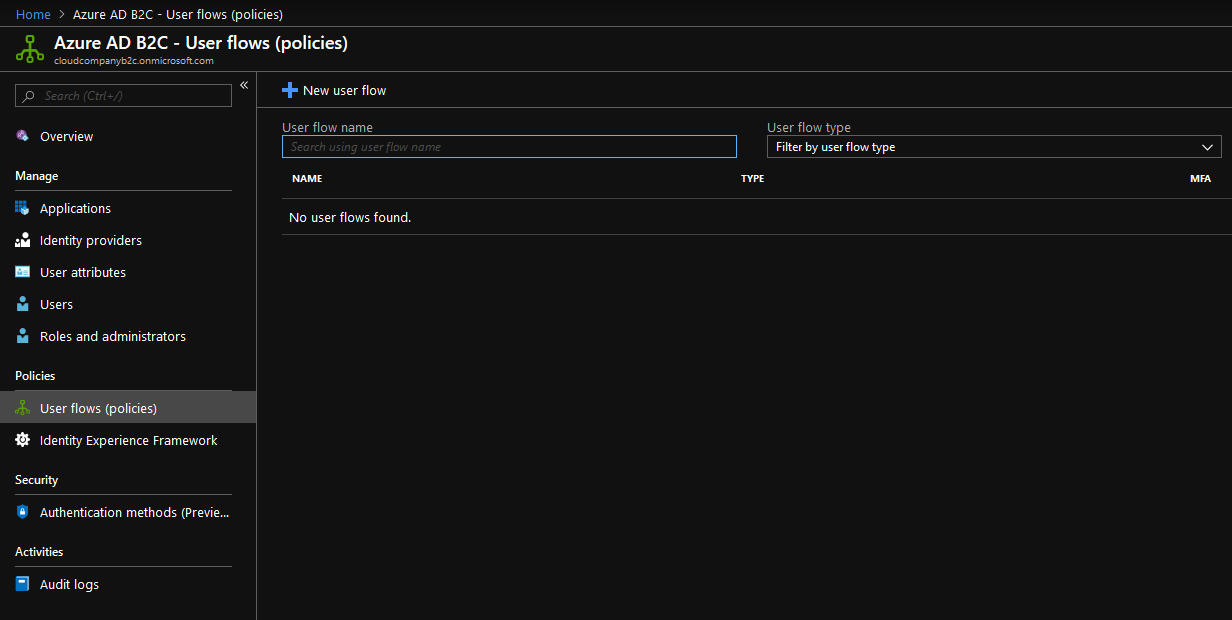
Configure Azure AD B2C user flows (policies)
Next user flows should be configured so that Identity Provider selections will be visible in the login screen. Click user flows (policies).
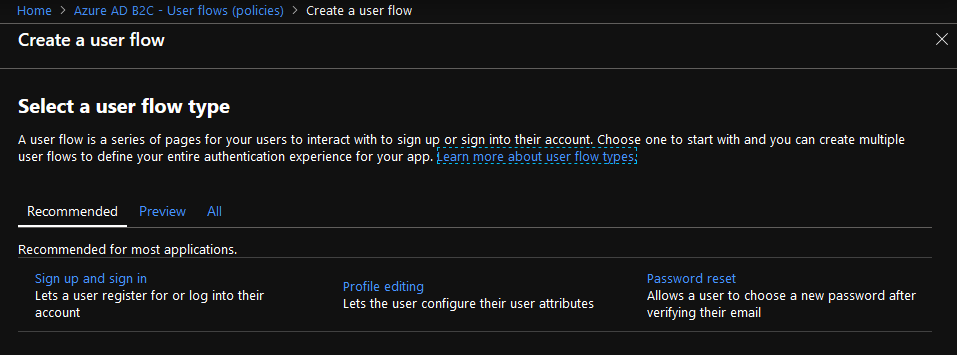
New user flow
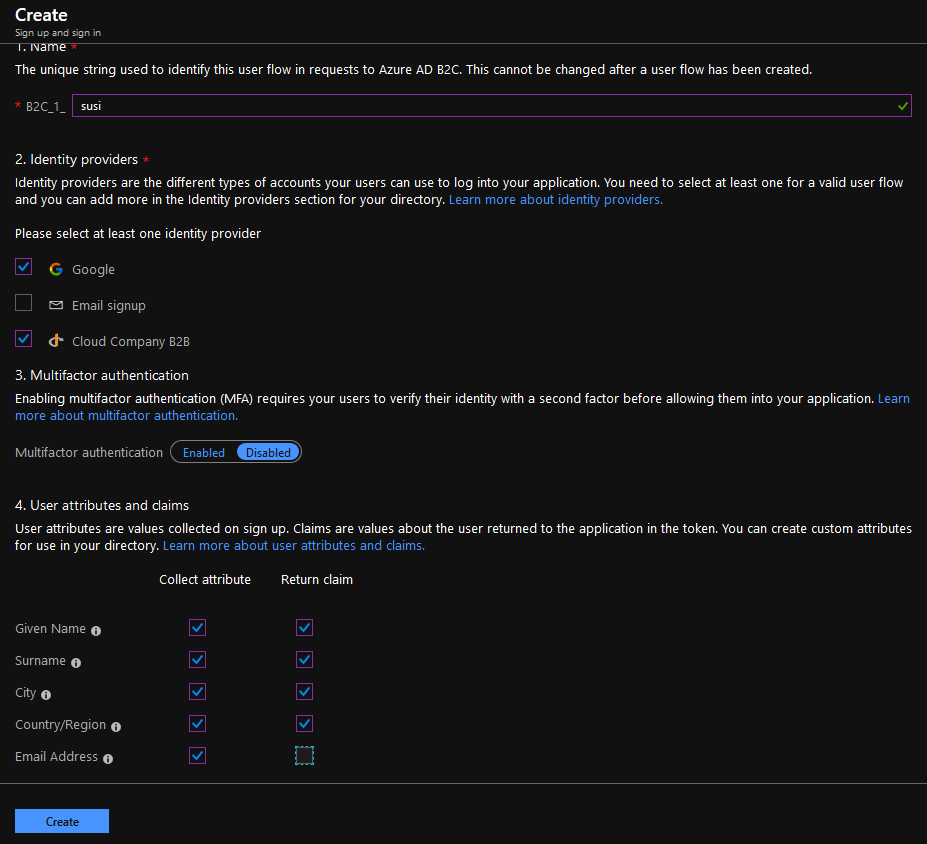
Select "Sign up and sign in". Give the name and select Google and Cloud Company B2B Identity Providers. Select also all user attributes and claims.
Invite Azure B2B user
Go to B2B AAD (cloudcompanyb2b)
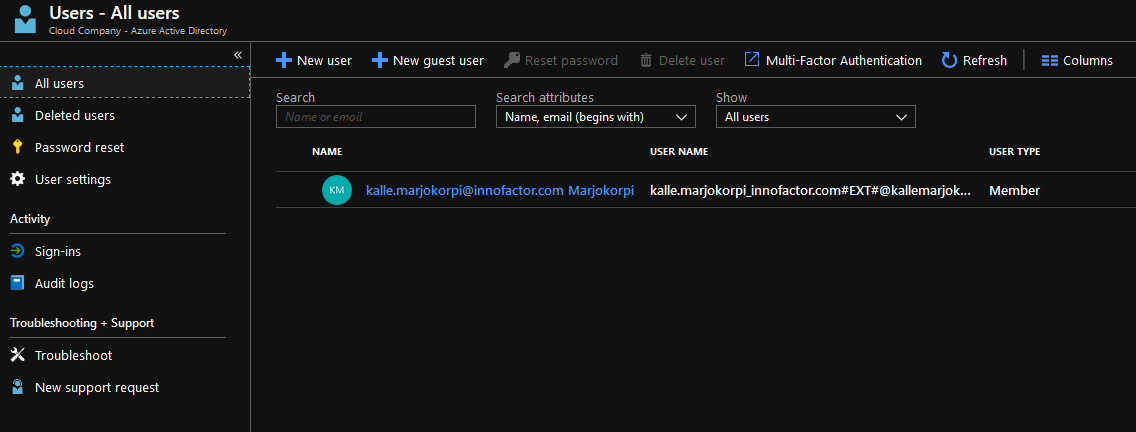
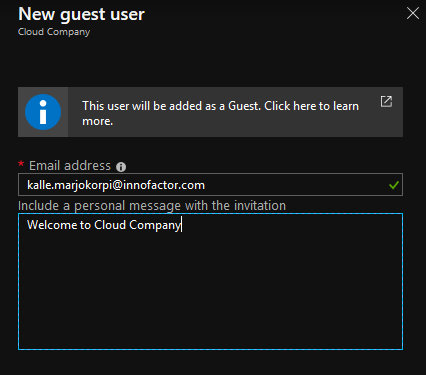
Click New Guest User and input your email address. This is my MS Account address.
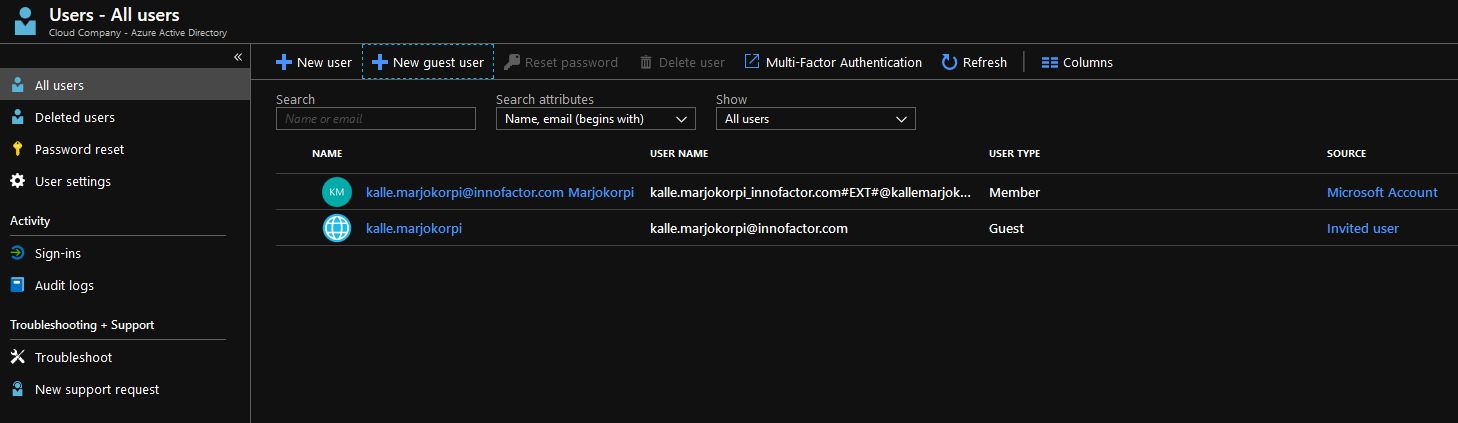
After the invitation user is listed as a Guest user (Invited User).
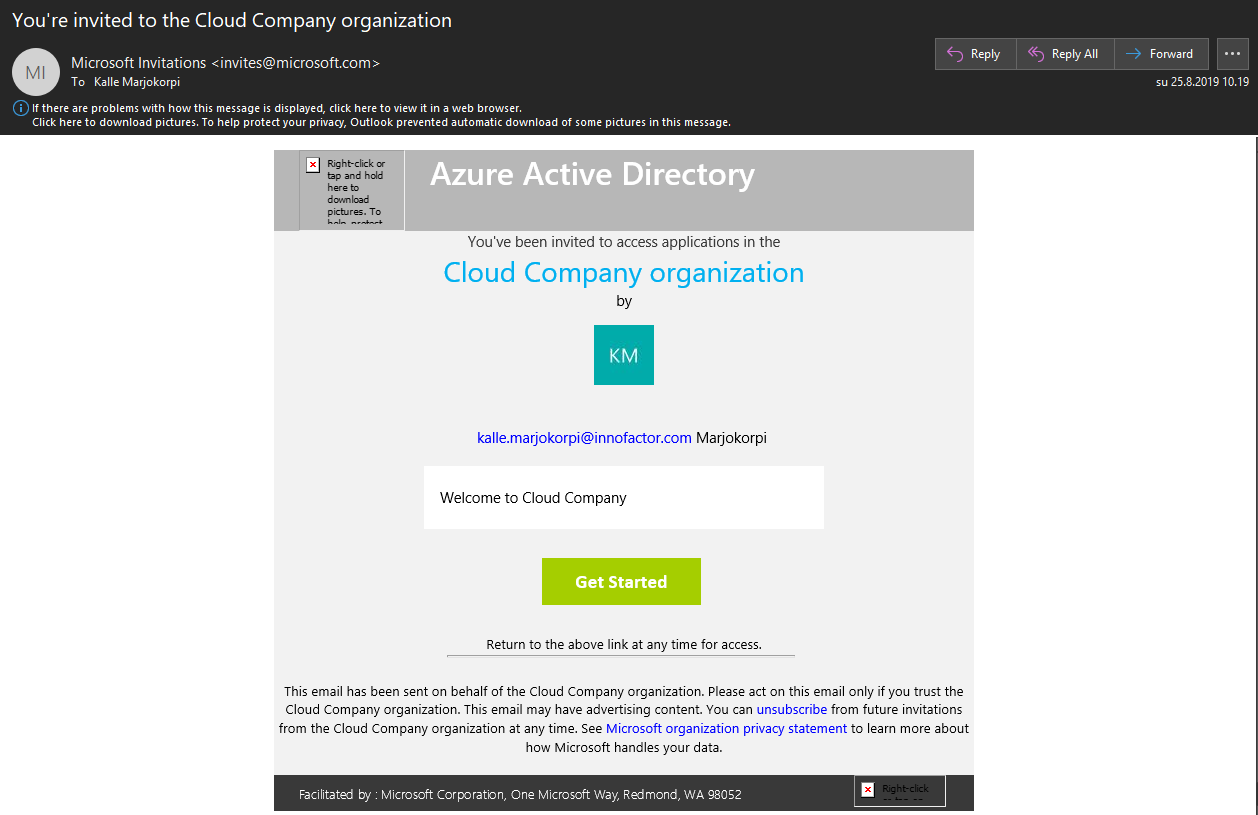
The next email invitation arrives. Click the link in the email.
After the invitation process user is listed as a Guest (External Azure Active Directory)

Test authentication with Sample Web application
My sample web application code is based on the WebApp-OpenIdConnect-Dotnet example project. An example project can be found here.
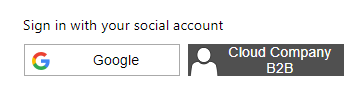
The sample application shows the following Identity Providers in the login screen. I want to test B2B login so I click "Cloud Company B2B".
Consent view appears.
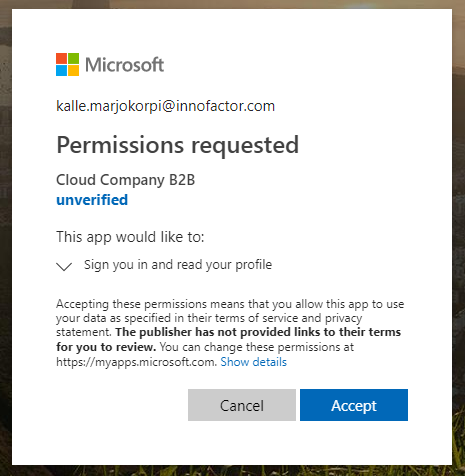
After consent the following information is asked.
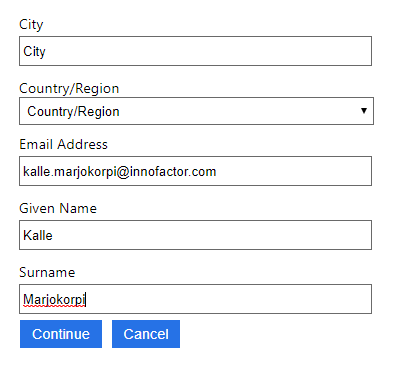
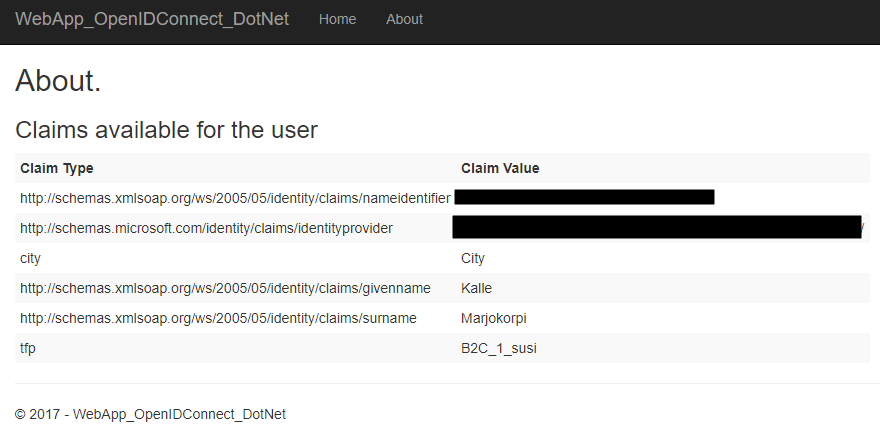
After clicking continue I'm redirected to the application. The example project shows all the claims from the About view.
Summary
Configuration requires quite a many steps but it's pretty straightforward to do. This was my first test with Azure B2C and I'm very interested in it. Later I want to get more information about claims transformation. My next post will show how to configure Azure AD B2B and B2C as an external provider in the Identity Server.
Comments